Wax Wraps
- Katie Done
- Dec 14, 2019
- 4 min read
One of my favourite plastic free swaps is using wax wraps. I bought a few at first to see how I got on and I loved them! The more I got used to using them instead of cling film, the more I found I needed. I have a friend who just happens to have her own bees so we arranged a crafty morning making wraps on their farm Peacock Farm.
Before we got started I had a little look around the farm and got to thank the bees personally for all their hard work.

I also got to learn a bit about the wax. The unused combs were all in a bucket waiting to be melted down. The ones that are slightly darker have pollan on them and this gives the wax the overall darker colour. When melted down they were put in a reused tub to dry.
If you do decide to make your own wraps I would urge you to support your local bees and beekeepers and find some local beekeepers that may be willing to sell it to you. Buy some honey while you are at it, there is nothing better than locally produced honey!
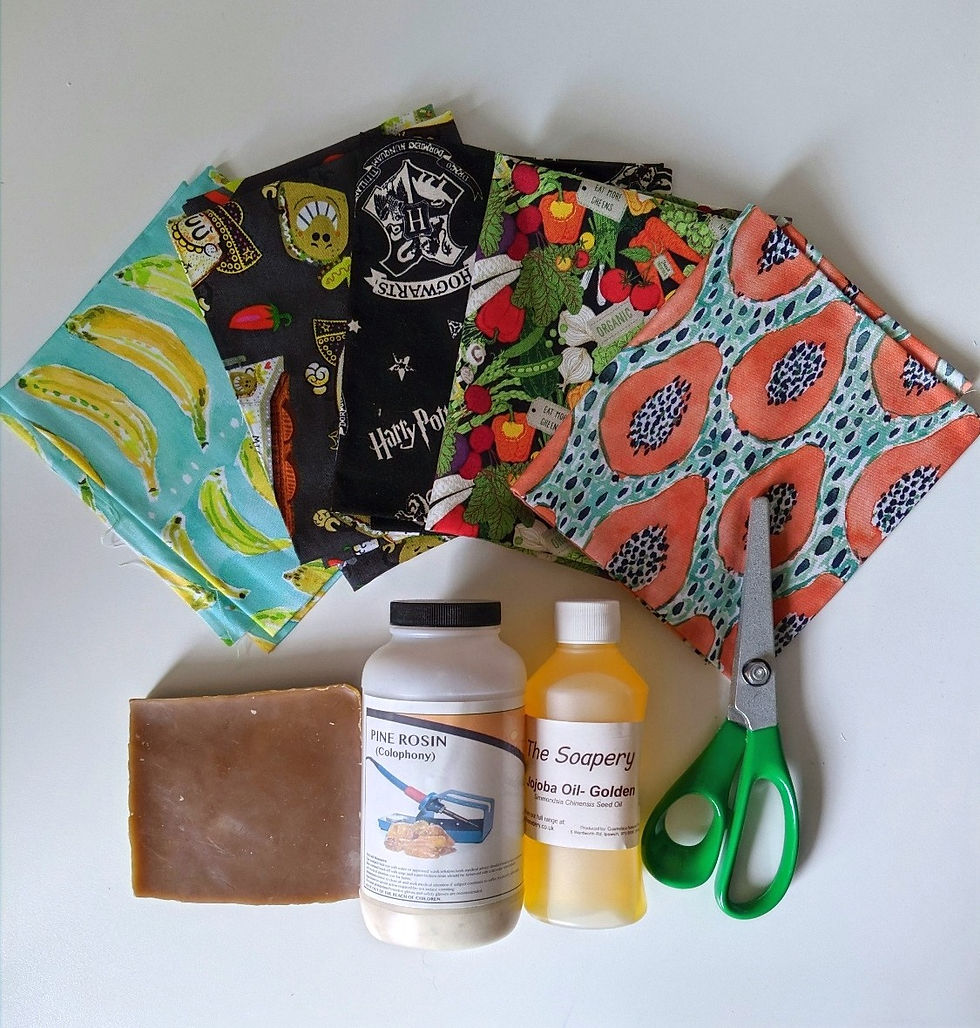
MATERIALS
Beeswax
Pine Resin (food grade)
Jojoba Oil
100% Cotton Fabric
Pinking Shears
Grater
Brush
Baking Parchment
Oven
Pan and Bowl (optional)

METHOD
1. Start by prewashing, drying and ironing your fabrics. I have used some food themed fabrics and some that represented the people I was making them for, these were all just fat quarters. If you wanted to use any of these fabrics just click to open in a new tab - Bananas, Vegetable, Papaya, Tacos.
When picking your fabric I learnt it was best to stick to darker and busier patterns. I tried a yellow that looked comb like but when the wax was on it just looked a bit mucky and the pattern didn't show through.
2. Cut your fabric into your desired sizes, using your pinking shears around all 4 sides. My pinking shears aren't the best so this took some time. It was definitely a sofa and TV activity.
Think about what you will keep in them, a smaller one for half a lemon or lime or to go on the end of a cucumber for example. Some larger that will fit over bowls or used as sandwich wraps. A size in the middle that can be used to wrap cut vegetables like pepper. I have started buying my cucumbers without the film on (Morrisons is so far the only place I can find them). As soon as I get it home I wrap it in a longer one that I made and it lasts just as long as one in film. I also made one the size of a whole fat quarter and it comes in handy for things like broccoli and bread.

3. Grate your wax. The pine resin I got was in crystals so I used a pestle and porter to grind it down into a powder. You need strong arms for the grating, it took me ages. While we talk about the grater, any tools you use like the brush, bowl and grater will have to be instruments you are willing to sacrifice for the cause, the wax is near impossible to clean off.
4. Heat your oven to around 150 degrees C. Have some trays handy and lay baking parchment on them making sure it is bigger than the fabric. Have some baking parchment ready for laying it on after to dry, I used my clothes rack.
I used two methods and both had pros and cons.
Method 1 - this was much quicker and less messy but I found the pine resin wasn't disbursed as evenly and there was the occasional patch.
Mix 3 tablespoons of wax, 1 tablespoon of resin and one of jojoba oil . Spread a little over your fabric. Don't worry that it doesn't look like it overs very much at the moment.

Put it in the oven for up to 2 minutes. Go to stage 5.
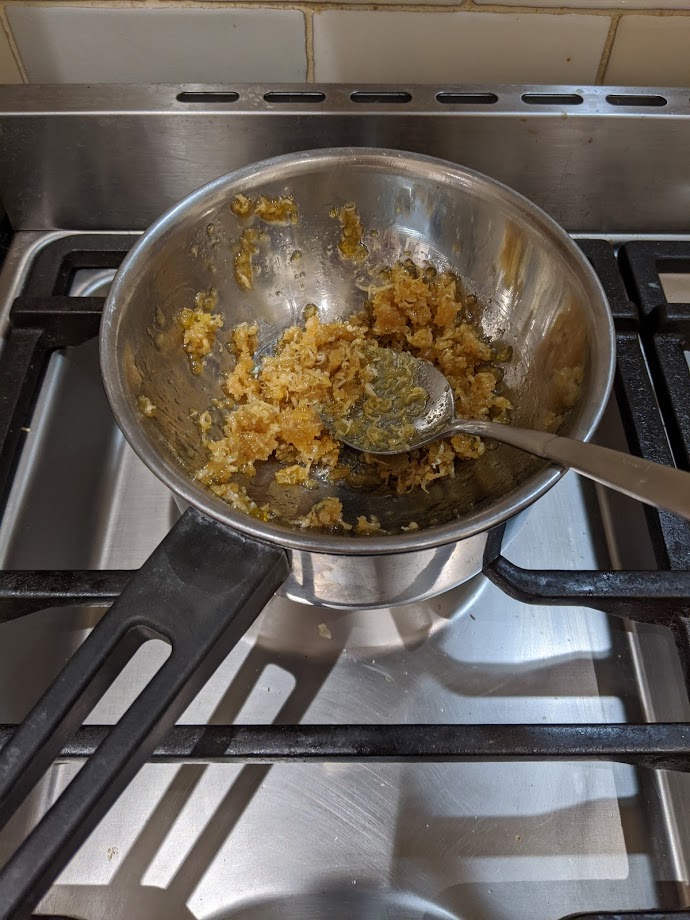
Method 2 - This method needs a banmary, the bowl you use will be no good for anything else afterwards. On a low heat put your pan of water on the hob with your bowl over it. Add 1 tablespoon of pine resin and melt this first. It takes longer to melt than the wax so be patient.
When it has started to melt add the 3 tablespoons of wax and one of the jojoba oil. Pour a little of the mixture on your fabric. Don't worry that it doesn't cover all your fabric. It will melt down more in the oven. Put in the oven for up to 2 minutes.

5. When you take them out of the oven the wax will have disbursed but you will still need to spread it a lot.
Use your brush to brush out all the wax right to the sides, repeat this on both front and back.

6. Hang your wraps to dry. It doesn't take very long. By the time the next batch is done these ones will have dried. This amount of mixture makes around 3 wraps. Mix more up as you need it,


THINGS TO REMEMBER
The wraps will last about 6 months but you can put them in the oven and re-wax them to prolong them. My oldest ones are around 18 months old now.
Do not use them on raw meat!
To wash them use warm soapy water but not hot, you don't want to melt the wax. Dry them flat on a cloth.
When they are done with they can be cut up and go in the compost (only if you use 100% cotton).
Make sure you tell anyone you gift them to these rules too along with the ingredients in case they have allergies.
This tutorial is intended for personal use only. To sell anything that is in contact with food the wrap would have to go through certain tests and abide by certain regulations which I am not an expert on.
I also wanted to take this opportunity to shoutout Peacock Farm. Make sure you keep an eye out for their produce if you are in the Lincolnshire area. Their Rape Seed Oil is great and we used it to make up come delicious cookies. The jar was put together by Donya too and my little boy loved helping me make them. I have never been able to make


Comentarios