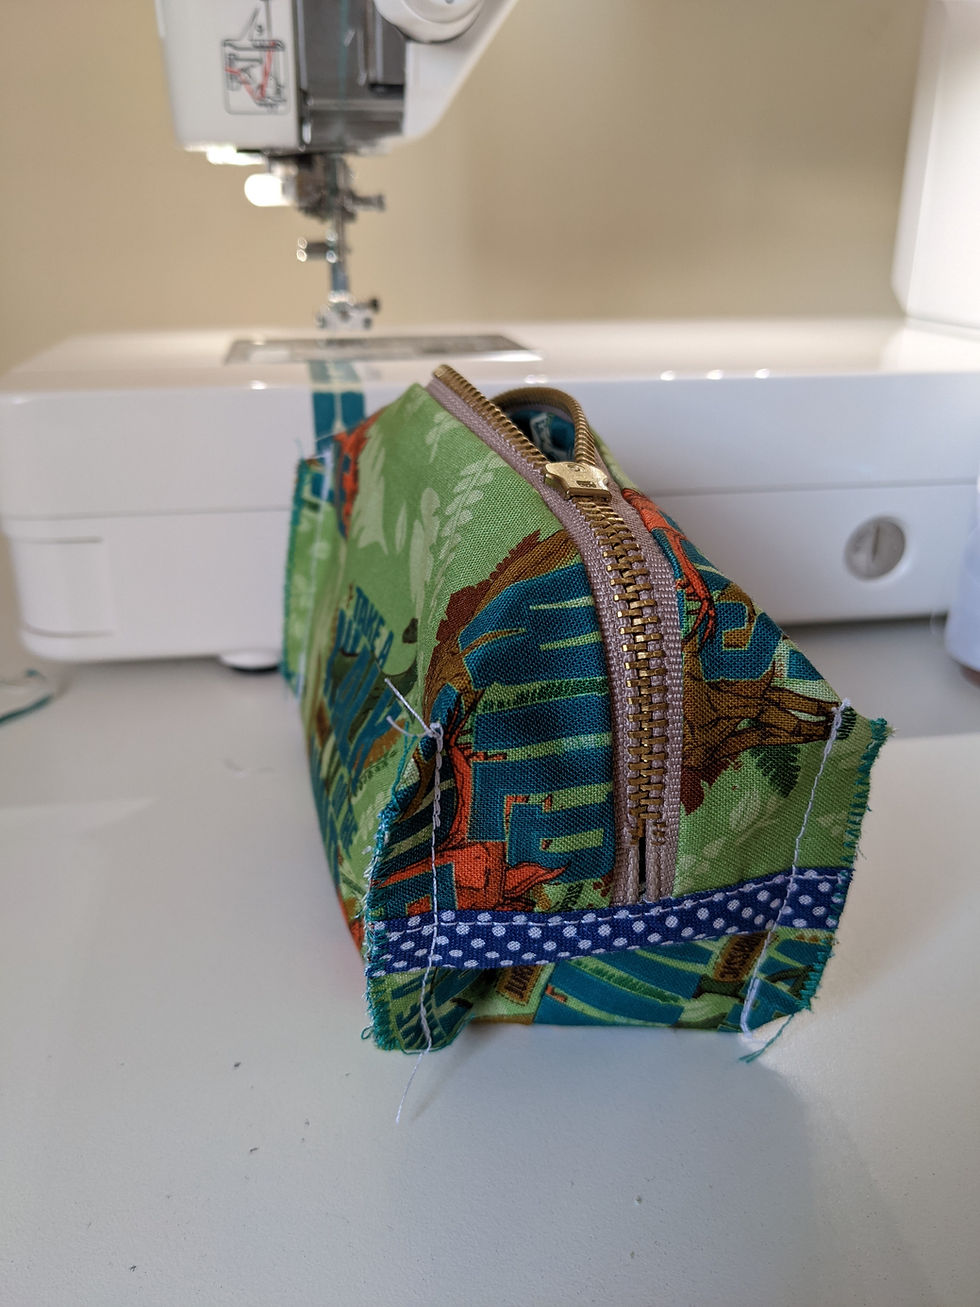
I recently made George a pencil case roll. I wanted to make a smaller pencil case for some of his other pens and still had some fabric left over from the Natural History Museum collection by Craft Cotton Company so, I made a really simple pencil case to match. I made the two projects with one fat quarter bundle and still have some to spare.
When I showed George the finished bag he said, "Is that for my rocks?!". George has an eye for pretty and shiny rocks and my mum, Nanny, has recently got a rock tumbler which is their new "thing". It hadn't crossed my mind that it would be a rock bag but with the fossil fabric, it actually couldn't be more perfect. So, you may call it a box pencil case, but George calls it his rock bag.

YOU WILL NEED
10" Zip
Binding Off Cut
Sewing Machine with zipper foot
Rotary Cutter, Ruler and Mat
Iron
Pins
METHOD
1. Cut your fabric 10" x 6". You need 2 of these in each fabric, 4 in total.

2. Place two contrasting fabrics together with the zip sandwiched on one edge, pin in place and sew.
TIP: Have the zip half open, when you reach the zip pull it can be hard to sew next to it so, lift your foot and needle and close or open your zip so it is where you have already sewn, then continue sewing in a straight line.

3. Open up and repeat on the other side of the zip.


4. Open the pieces out so the matching fabrics are facing each other. Pin the two long edges together and sew.

5. Turn the pencil case to the right way so the zip is in the centre and facing inwards. Pin the short edges together. Sew, being careful not to break your needle on the zip. Make sure the zip is half open so you can turn it out.

6. This is optional, but for neatness I have added binding to exposed edges. I don't know about you, but I have loads of end pieces of binding from other projects, so this was a great excuse to use some up. This will be on the inside so, if you don't have any you can always finish the edges with a zig zag stitch or overlocker. I have used a metal zip for this project. Whatever you do, don't sew over the metal or you will break your needle.

7. Press to create a crease, use this as a guide to help you create the box pleat. Bring the binded edge to this crease and pin. Mark a line, 1.5" from the corner. Sew along this line with the binding facing away from the zip, back stitch and tie the ends. Repeat on all four corners.


8. Trim the corners and finish them with a zig zag stitch or overlocker.

Now turn your bag to the right way and fill it with pens or rocks!
I would love to hear from you in the comments if you give it a go or are feeling inspired. Don't forget to tag The Fabric Squirrel in your social media pictures.


How big is the finished product??